
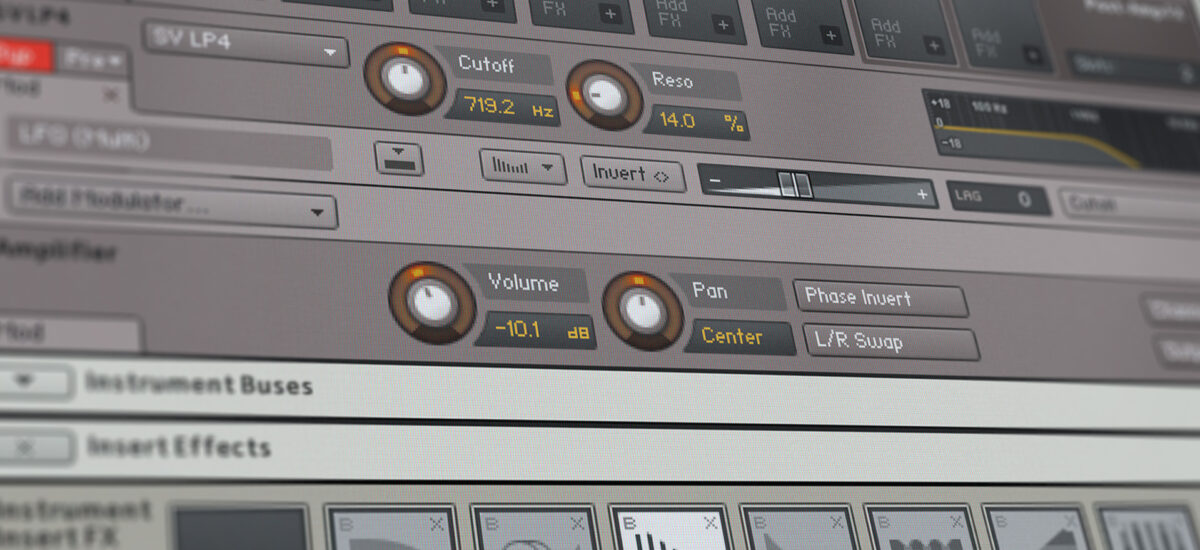
Tired of static, lifeless tracks? The secret to captivating your listeners lies in adding movement to your music. When your sounds continually evolve, both individually and as a whole, your track stays fresh and engaging from start to finish.
In this article, we’ll share tips for adding movement to your tracks, including using Kontakt’s envelopes to shape the attack, decay, sustain, and release, using LFO’s to add movement, using Motion FX in Playbox, and creating a more interesting sound with Flair and Phasis.
You can get all of these tools in Komplete 15, the comprehensive suite of instruments, effects, and sounds that empowers creators across every genre to produce professional-grade tracks.

Jump to these sections:
- Shape the sound with Kontakt’s envelopes
- Use LFOs to add movement
- Try Motion FX in Playbox for dynamic variation
- Get a more interesting sound with Flair and Phasis
1. Shape the sound with Kontakt’s envelopes
Envelopes are essential tools for shaping the dynamics of a sound over time. The ADSR envelope – Attack, Decay, Sustain, and Release – allows precise control over how a sound evolves from the moment a note is triggered until it fades out.
Using Kontakt, you can easily adjust the attack, decay, sustain and release of a sound to shape it. For example, automating the ADSR of a synth may be useful during the break of a track, so that the synth sound continually evolves to build anticipation in the track before the drop.
The Attack determines how quickly the sound reaches full volume. Decay and Sustain work together; Decay determines how long it takes the sound to drop from the decay level to the Sustain level, which is the volume of the sound that’s maintained while the note is held.Release controls how long the sound lingers after the key is released, and the volume returns to zero. The release determines the fade-out of the sound. Kontakt also features an additional control called Hold that controls how long the sound is held at a constant value before passing to the decay stage.
To access the ADSR in Kontakt, click on the wrench icon in the top left of the software.
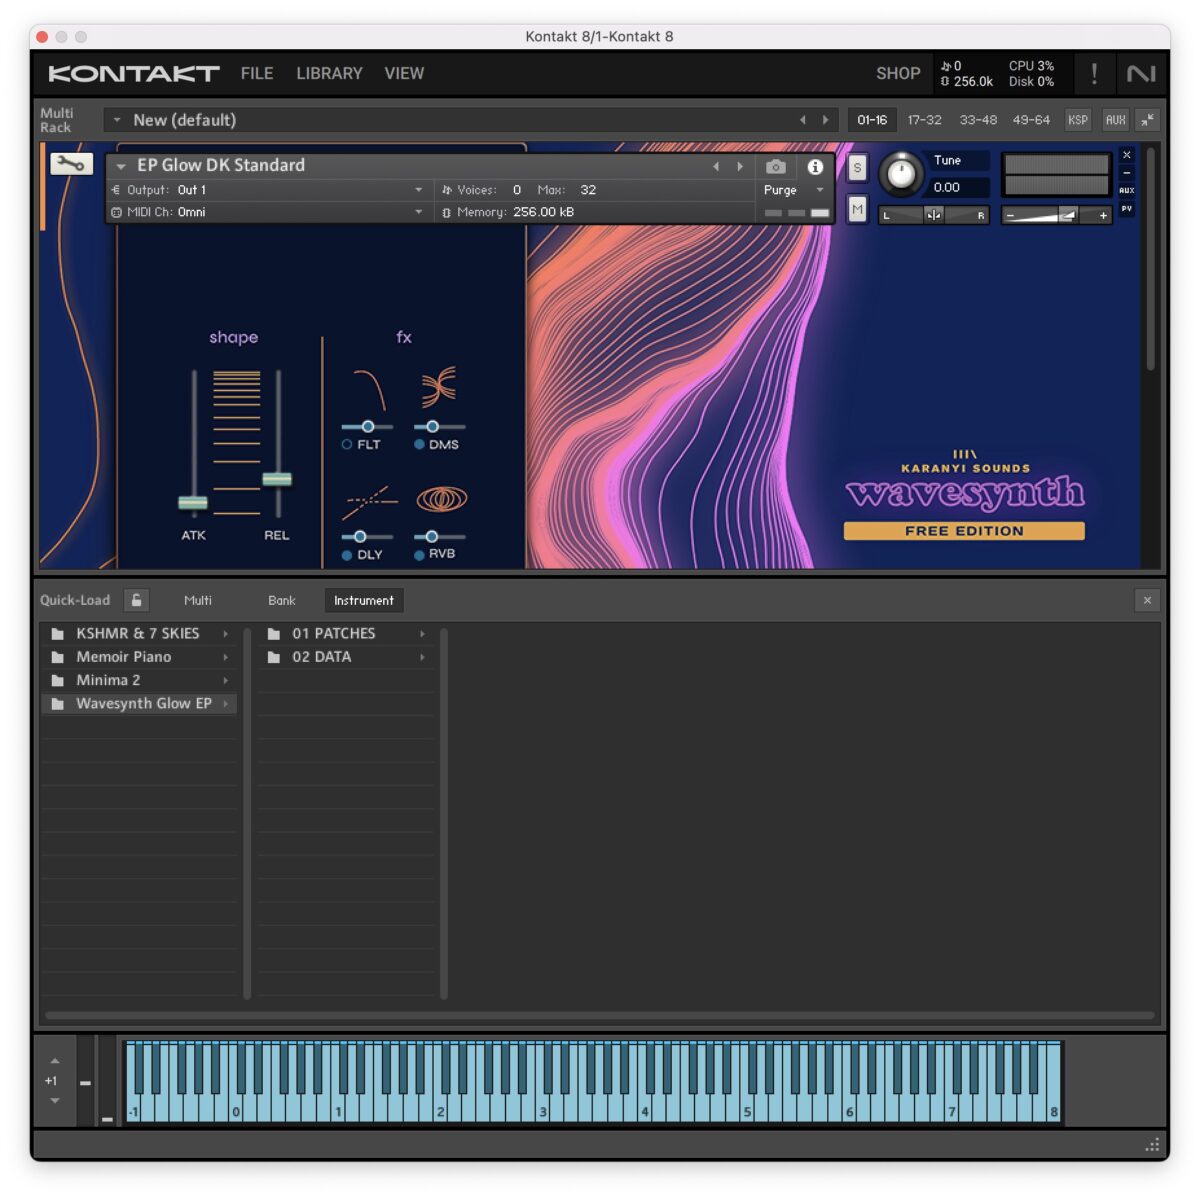
Click the wrench icon in the top left to access the ADSR
Scroll down in Kontakt to access the modulation section.
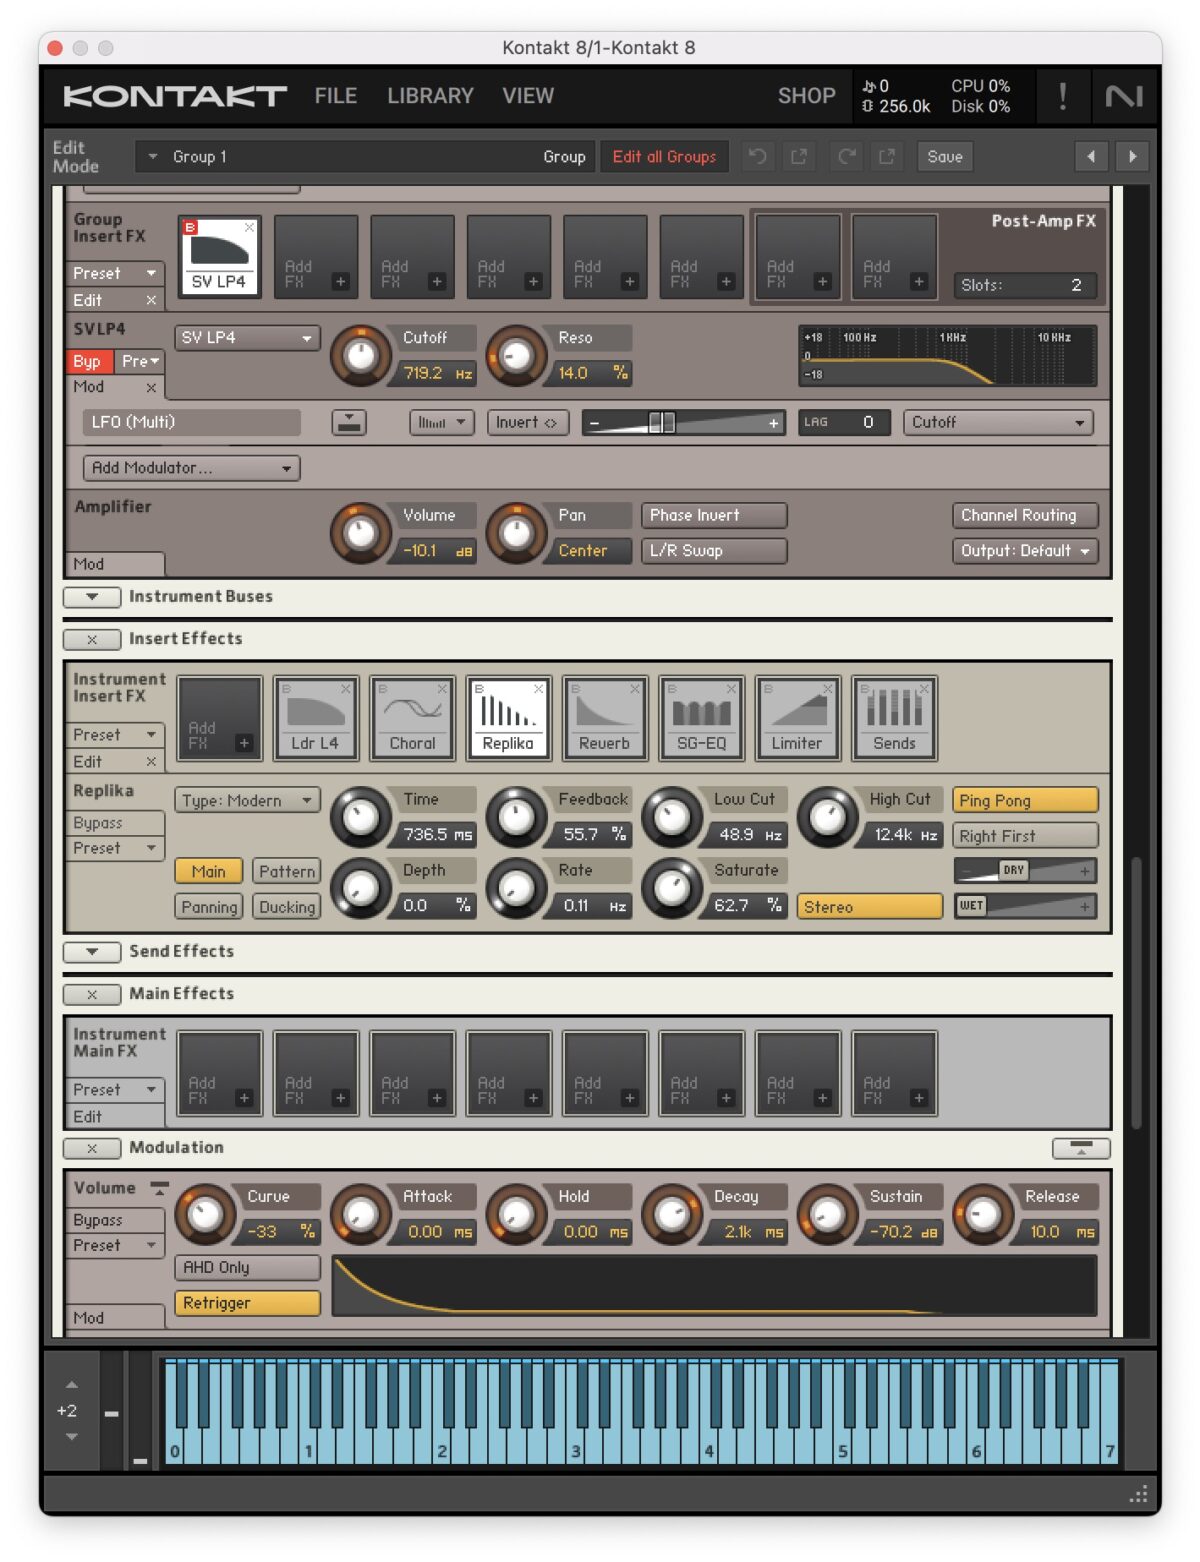
Kontakt Modulation section
Modulating the ADSR, and specifically the Decay and Sustain can be useful during the break of a song, before the drop. At the beginning of the break, try starting out with lower decay and sustain values, and gradually bringing them both up to open up the sound. In the first audio example, you can hear the Wavesynth instrument in Kontakt with no automation.
Native Instruments · 01 Kontakt, no automation
In the second audio example, the decay and sustain have been automated to create a more expressive sound.
Native Instruments · 02 Kontakt automation, decay/sustain
2. Use LFOs to add movement
An LFO stands for low-frequency oscillator. The signal that an LFO produces can be used to modulate parameters in a synth or effect, adding movement and evolving textures to the sound, which helps keep the listener engaged.Massive X has three LFOs; L4, L5 and L6 that are visible when you click on them. To learn how to use the LFO, start in Massive X’s preset menu, and click Quickstart, and select the preset Init – Massive X (or another preset of your choice.)
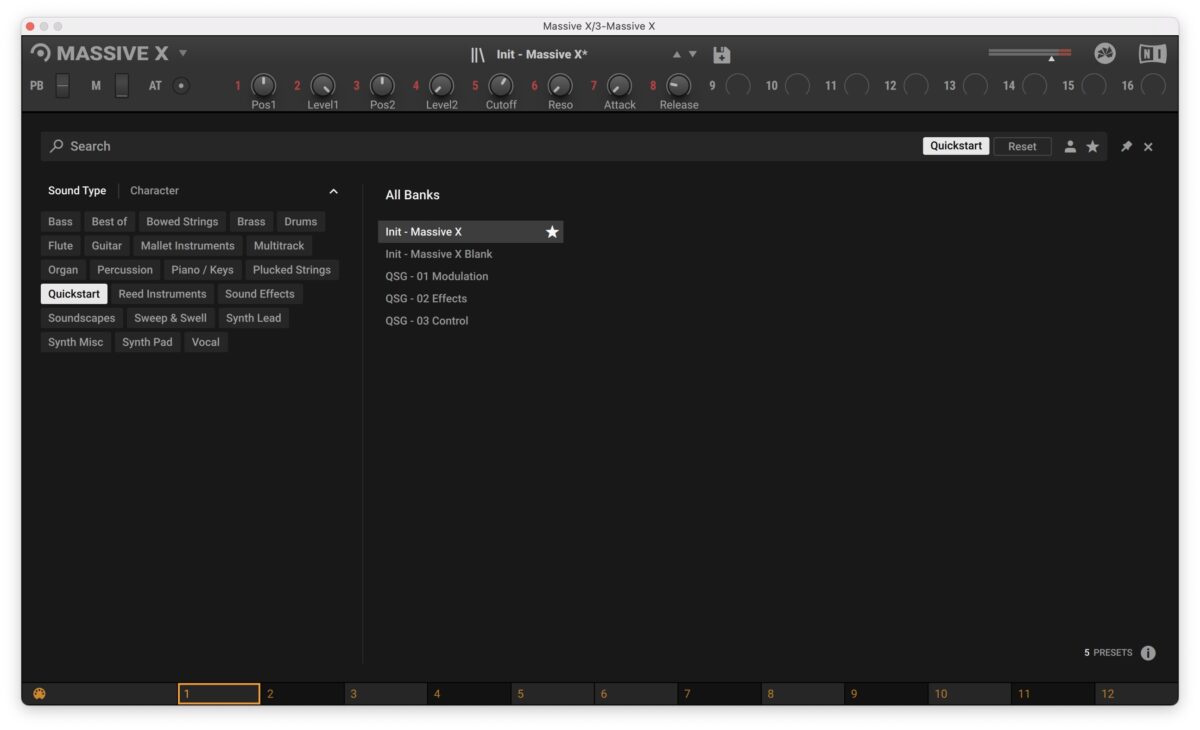
Init preset in Massive X
Here’s what the preset sounds like:
Native Instruments · 03 Init no LFO
Now let’s connect L4 to the Cutoff filter, labelled Freq by dragging the crosshair (the arrow icon that points in all directions) to one of the slots directly below the Freq knob, and click and drag down or up to apply the LFO to the filter cutoff.

Connect L4 to the Cutoff filter
If the LFO’s rate is free, it’s not synched to the tempo of your track. Click Sync to change the rate, which is the speed of the LFO. Try using different shapes by switching the shape, and adjusting the LFO level, which controls the depth of modulation applied by the LFO.
Listen to two different types of LFO modulation that were created by changing the LFO’s rate and the shape:
Native Instruments · 04 Init modulation one
Native Instruments · 05 Init LFO modulation two
Learn more about modulation with Massive X in our guide on underrated parameters in the synthesizer.
3. Use Motion FX in Playbox for dynamic variation
Playbox is an inspiring Kontakt instrument that helps to generate musical ideas using sample layering, chord generation and random patterns. It offers three Motion effects; Arp, Strum and Grain that add rhythm and texture to your sound.
The motion FX are located inside the FX tab in the bottom right corner of Playbox, and found inside the first drop down menu. Arp is an arpeggiator, and plays back a sequence of the notes and samples.
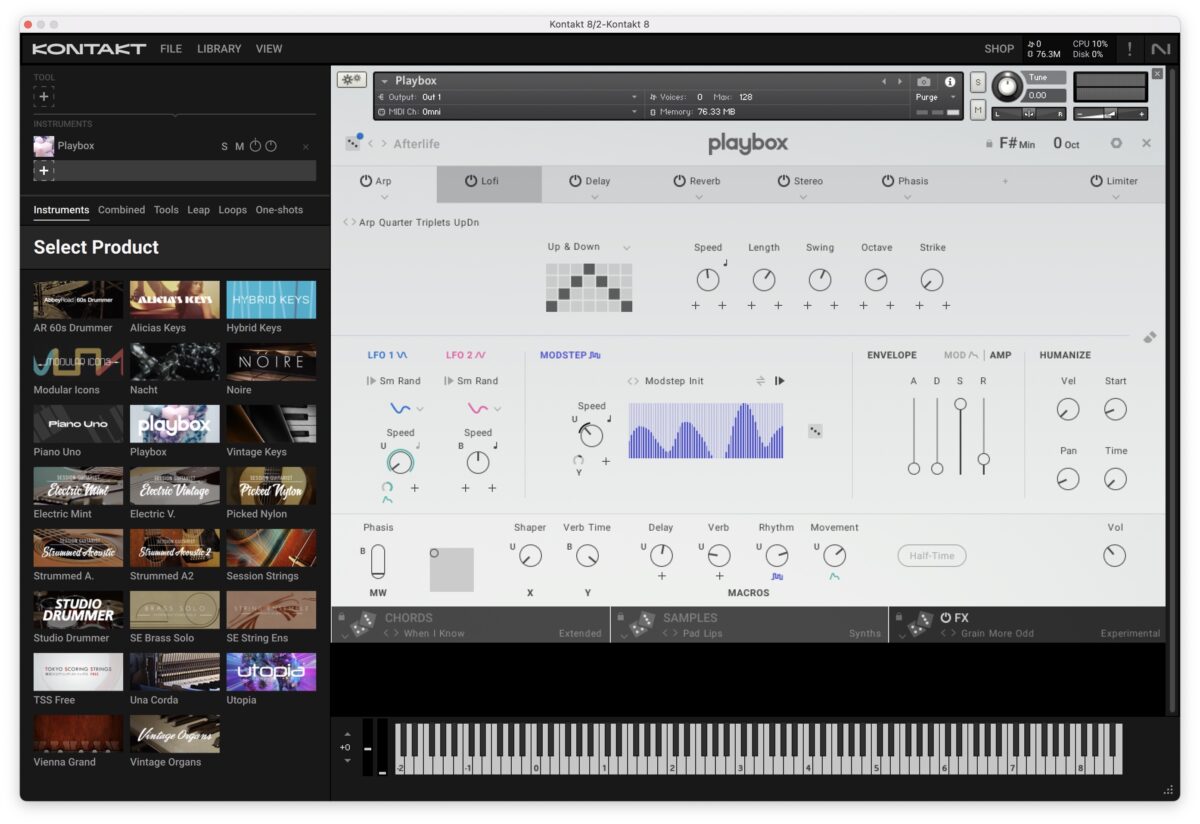
Arpeggiator in Playbox
The arp has a number of motion effects to bring life to your music.
Strum emulates the sound of strumming a stringed instrument.
Native Instruments · 08 Playbox 'Afterlife' preset with strum
Grain is a special effect that’s inspired by granular synthesis, and it generates MIDI events that trigger the notes and samples in exciting new ways. Grain turns the sound into small pieces of sound, also called grains. The playback of the grains can be altered in terms of speed, size, and various other parameters, enabling you to create a wide range of rhythmic and textural effects.
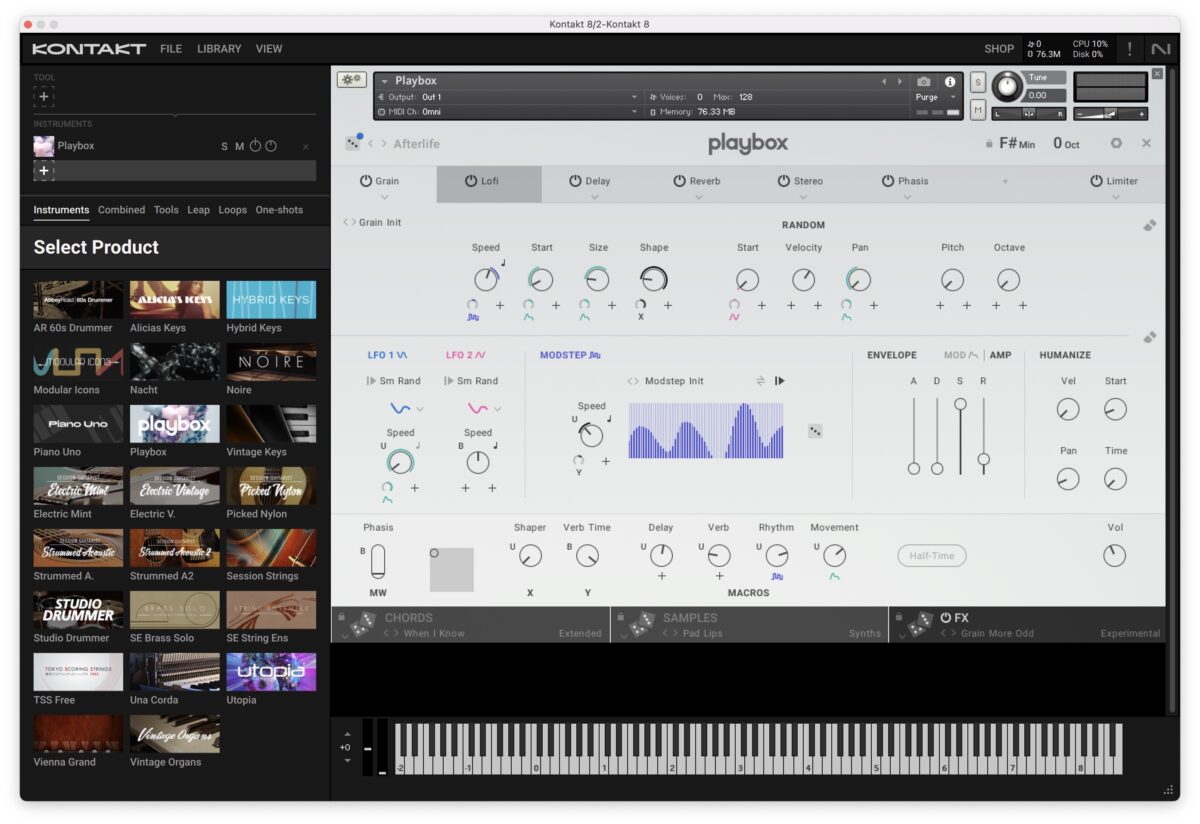
Grain in Playbox
Native Instruments · 09 Playbox 'Afterlife' preset with grain
These motion FX can be applied to Playbox’s sounds to add variation to your sound, and help you to sculpt more interesting and dynamic sounds for tracks.
4. Use Flair and Phasis a more interesting sound
The MOD Pack is a selection of three classic effects with the addition of innovative new features. Each of these effects offers something unique beyond conventional effects, and can modulate your sound in a new way.
Flair is a flanger, which is a spacey sounding effect that can make things sound like they’re underwater. This flanger can be used to add more character to slow sounds, and creatively used to modulate drums and effects to create a sweeping sound. One cool, simple way to modulate a drum break or another sound is to automate the rate of Flair over time. This type of modulation can be used during the breakdown of a track.
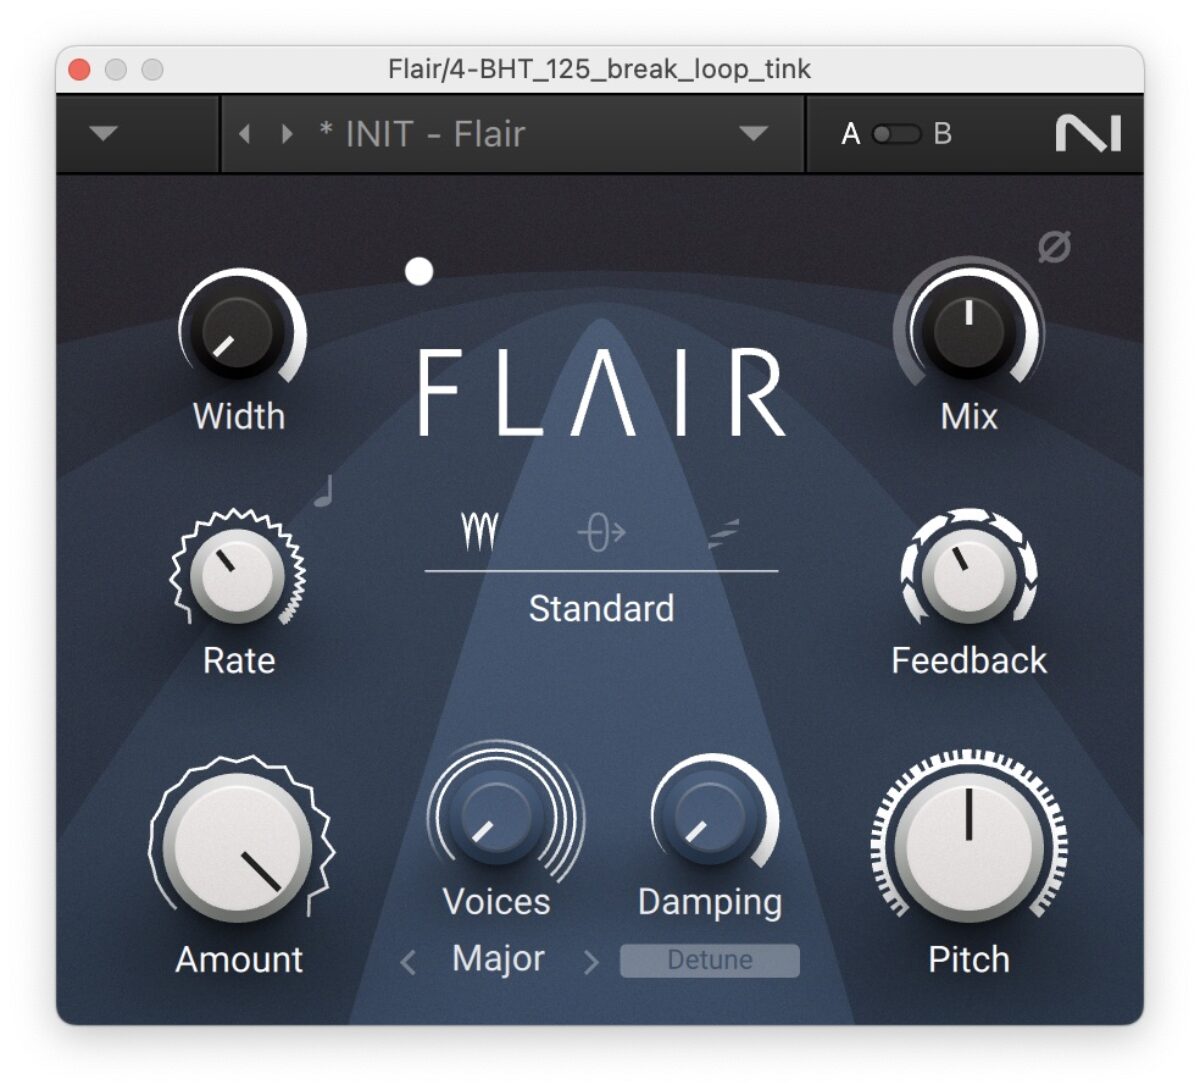
Flair
Let’s take a listen to a drum break before and after adding Flair.
Native Instruments · 10 Drum break
Native Instruments · 11 Drum break with Flair
Phasis can be used to add a more subtle type of effect than Flair to sounds in a track. Phasis is a phaser, and this type of effect is usually added to guitars and organs. It can also be used on instruments like strings and synths to modulate the sounds.
Try adjusting the spread on Phasis to change the spacing of the phaser’s notches and change the sound of the effect.
In the example below, listen to how adding movement with Phasis can make the violin sound more vibrant.
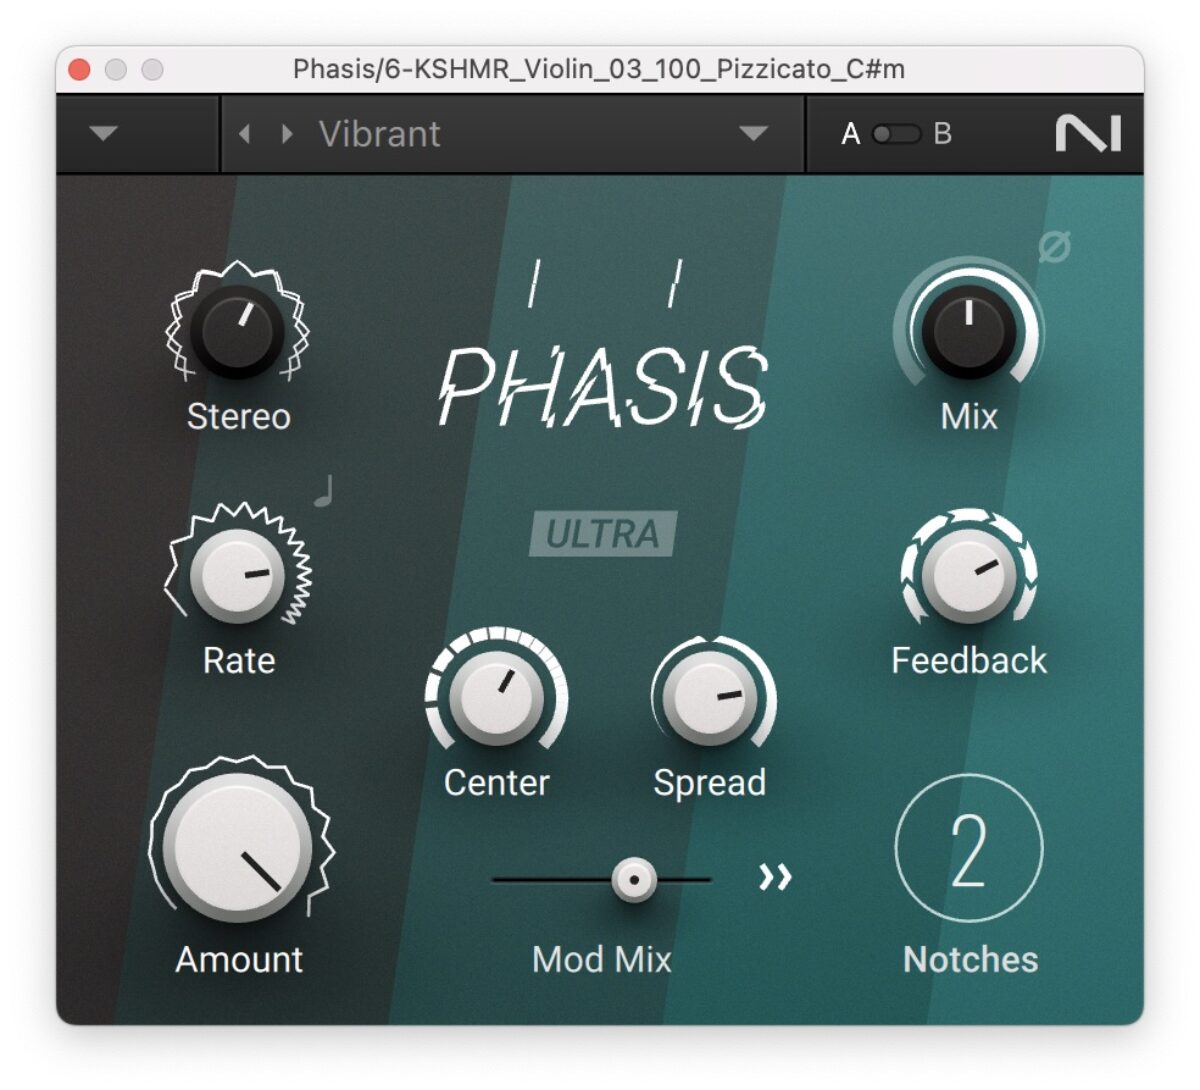
Phasis
Native Instruments · 12 Violin, no phasis
Native Instruments · 13 Violin, vibrant
Another type of modulation trick that you can try with any of these effects, or another effect like distortion is to start out by keeping the effect low in the mix, and increase the amount of the effect over time using the mix knob. Adding effects slowly to the mix keeps the sound moving and evolving over time.
Try adding movement to your tracks
Using modulation in your tracks can create more life-like sounding elements, and keep the elements sounding fresh as the track moves along.
Komplete 15 includes a vast range of effects that can be added to your sound. To start adding modulation to your tracks, load up a synth or a Kontakt instrument, and start by shaping your sounds using ADSR, applying LFO modulation to a synth sound, and adding effects to change the sound over time.
Once you master creating sounds with movement, you’ll be able to capture your listener’s attention and keep them engaged and listening to your music.
Download Komplete 15, and start adding modulation in your music to see where these new sounds take you.
Discover Komplete 15
The post How to keep your music sounding fresh with modulation first appeared on Native Instruments Blog.